|

|

|
|
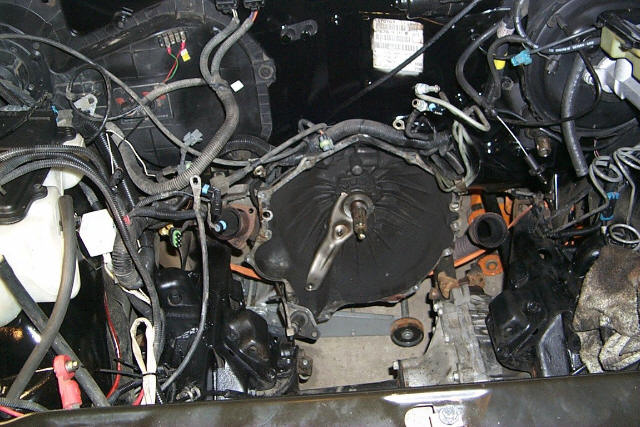
I spent a little time cleaning up the engine bay. I tried hydroblasting it but I ended up cleaning it by hand as much as possible.
|
I ended up fixing some mild rust spots on the fire wall and fenderwells and repainting them along with the frame.
|
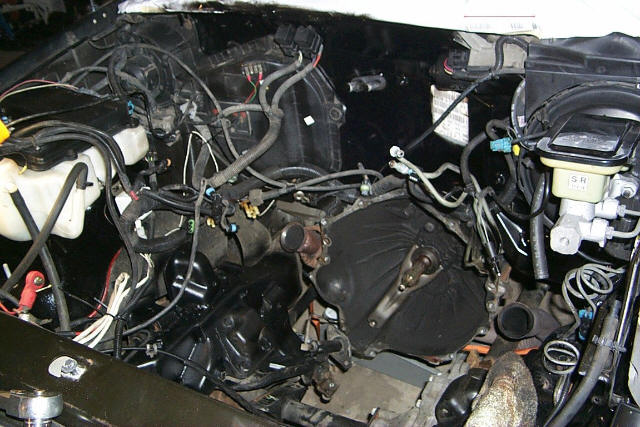
Here's another shot of the engine bay.
|
|
|
|

|

|

|
|
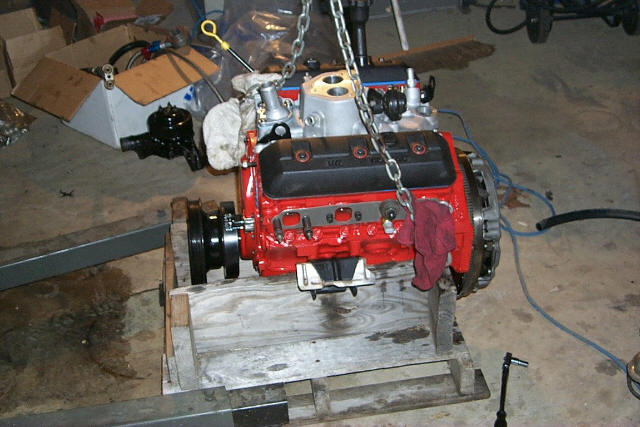
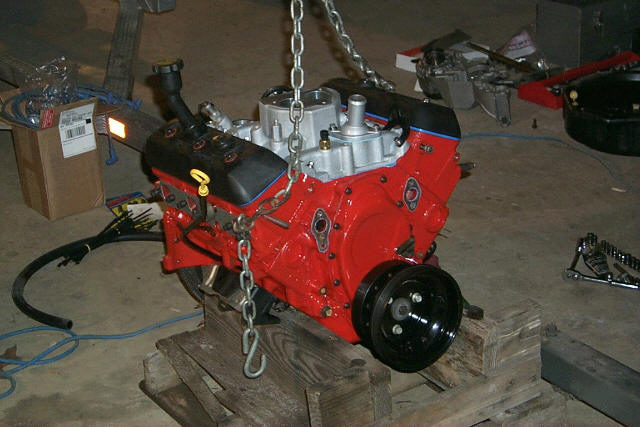
This is my newly rebuilt engine waiting to be put back in.
|
Here it is from the front. As you can see I'm waiting to put the water pump and the accessory bracket on until its in. I didn't want to risk scratching anything.
|
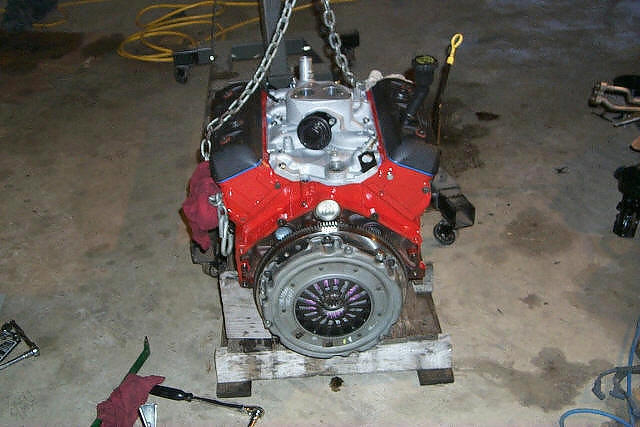
Here is the back with the new clutch installed.
|
|
|
|

|

|

|
|
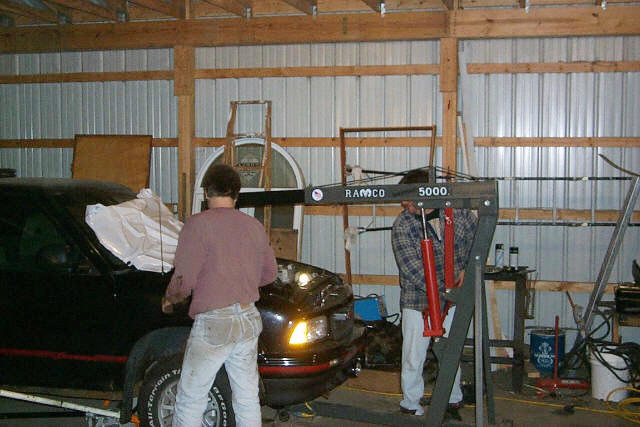
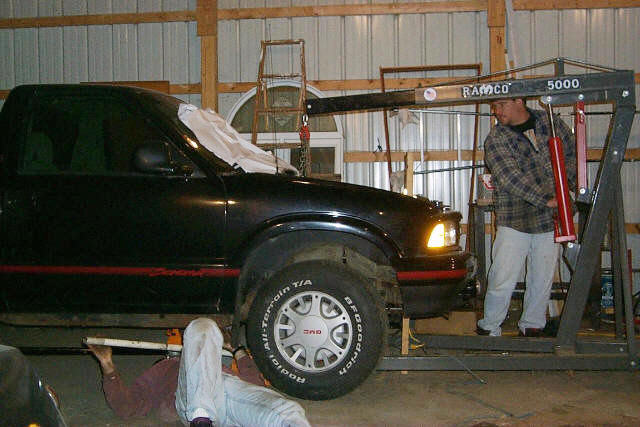
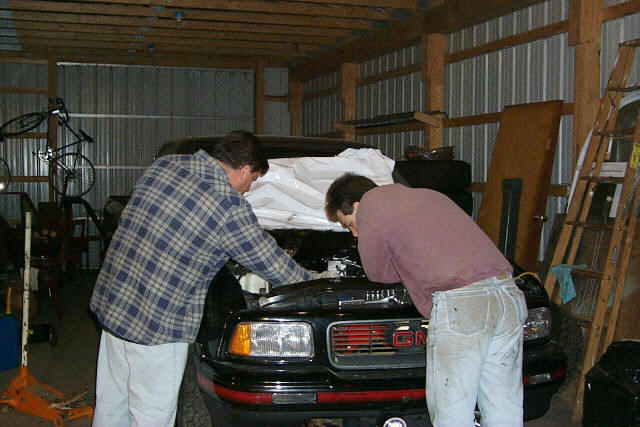
Here we are starting to put the engine in.
|
Here we are again, but were having problems getting it over the front driveshaft.
|
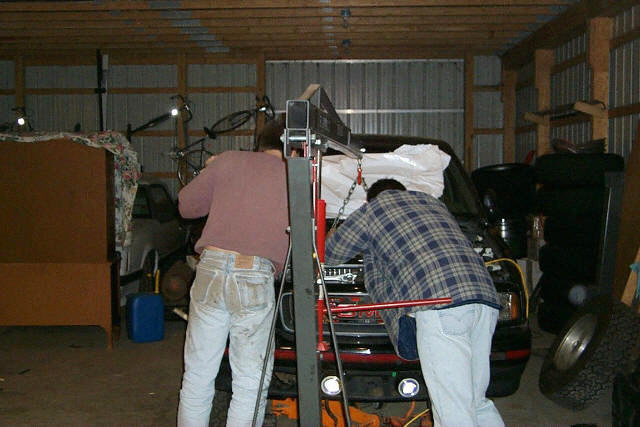
Its getting close. I check to see how the tranny and engine are lining up.
|
|
|
|

|

|

|
|
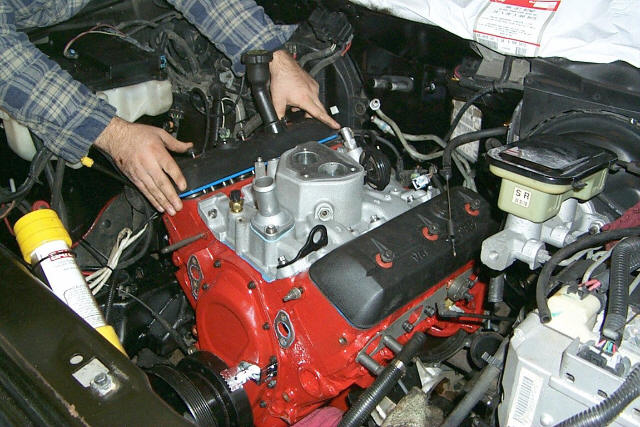
Finally after about a couple of hours rockin' and rollin' is in place. Man 4x4 suck putting engines in.
|
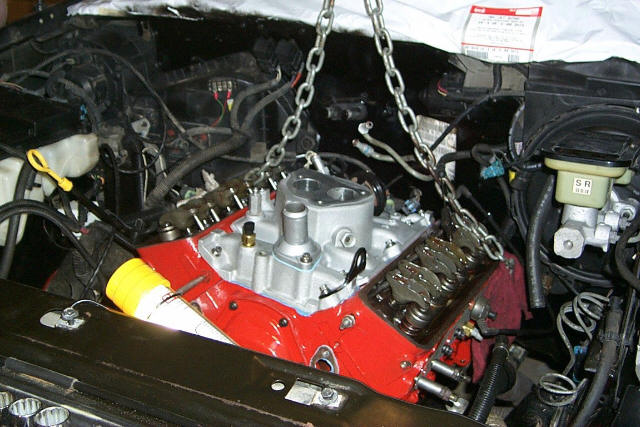
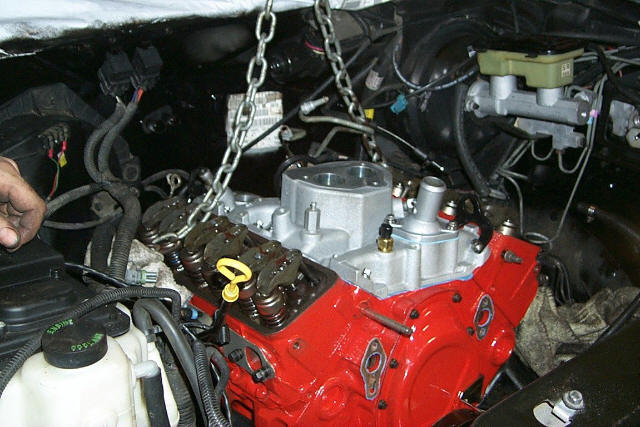
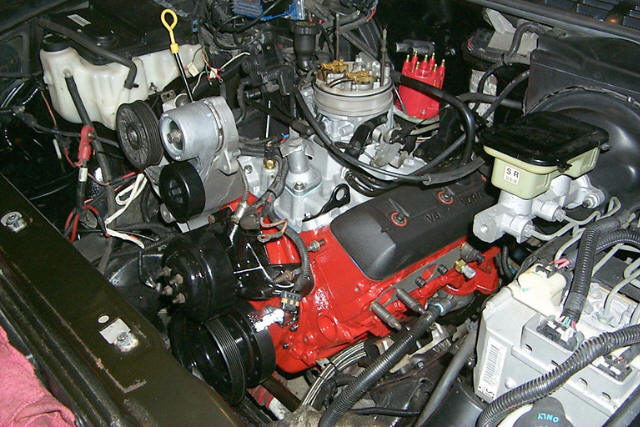
Here is a shot of it in the engine bay. Looks pretty cool in red instead of the stock black.
|
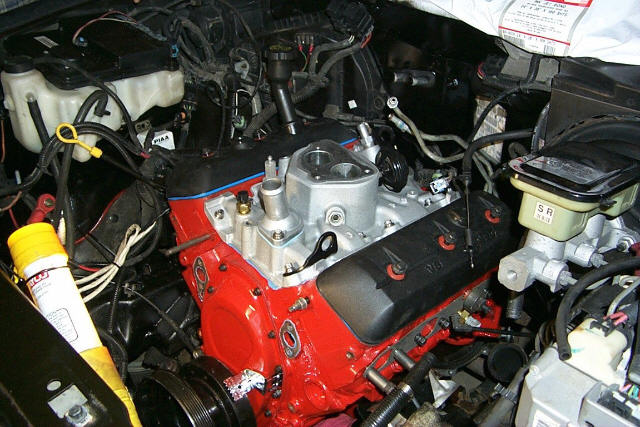
Here is another shot.
|
|
|
|

|

|

|
|
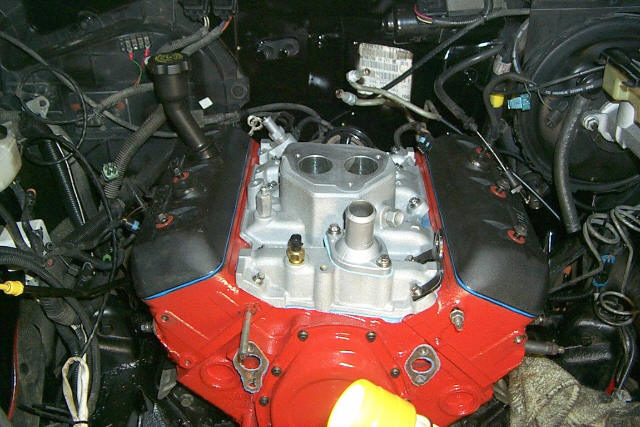
Time to put the valve covers on.
|
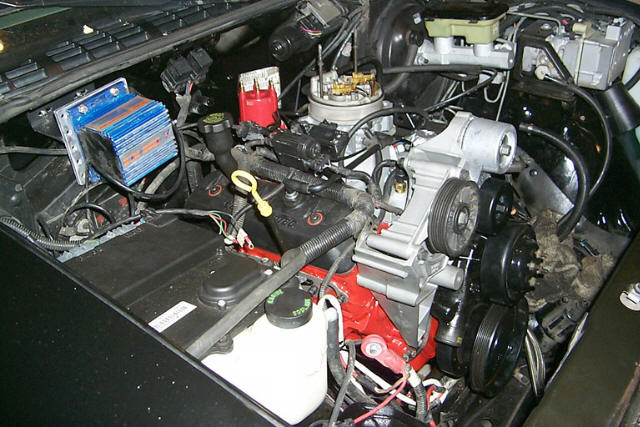
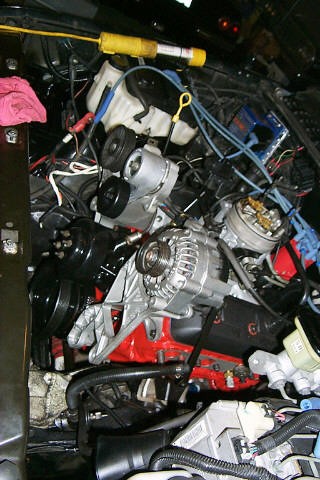
Some more shots of the engine in. |
And more.
|
|
|
|

|

|

|
|
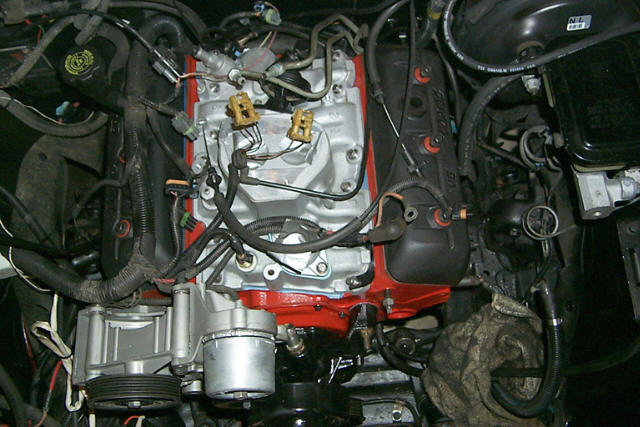
Locating the wiring harness back onto the block.
|
Installed the TBI unit and the linkage.
|
Just another shot.
|
|
|
|
.
|

|
.
|
|
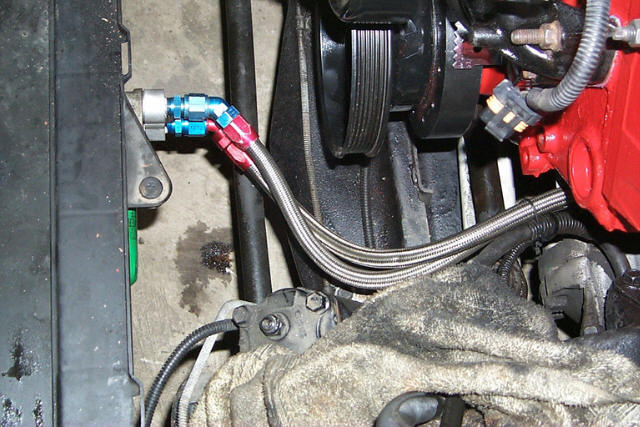
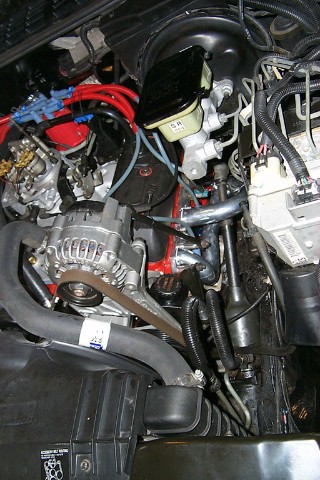
My new Aeroquip oil lines to the stock remote oil filter.
|
I sandblasted all of the stock brackets and clearcoated them.
|
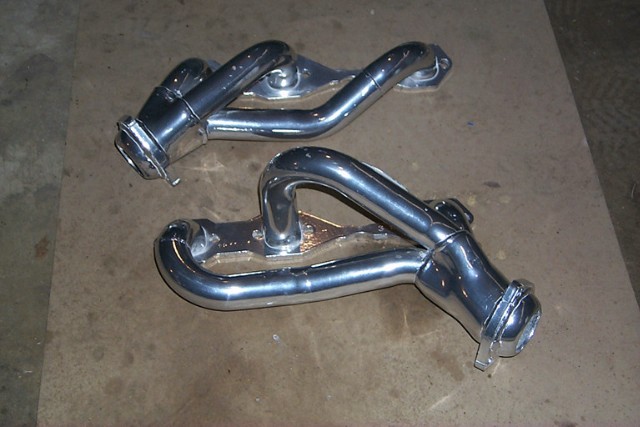
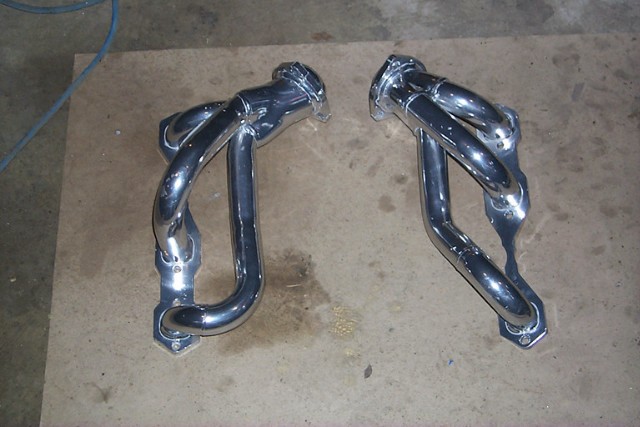
My JBA headers arrived back from Toefco today. It's about time. I've waited 2 1/2 weeks to get them back.
|
|
|
|

|

|

|
|
Hear is another shot. There really shiny.
|
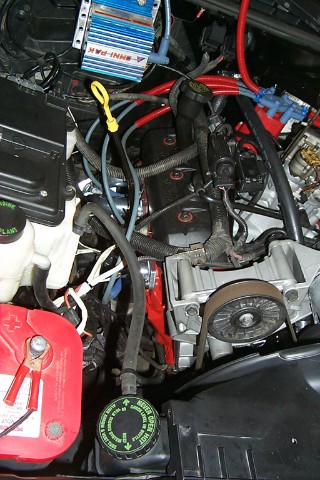
You can barely see through all of the wiring but there finally in.
|
Here is the right header installed.
|
|
Now it's time to see if it will even START!!!
|
|